Catalog
-
Catalog
- Agriculture
- Apparel
- Automobiles & Motorcycles
- Beauty & Personal Care
- Business Services
- Chemicals
- Construction & Real Estate
- Consumer Electronics
- Electrical Equipment & Supplies
- Electronic Components & Supplies
- Energy
- Environment
- Excess Inventory
- Fashion Accessories
- Food & Beverage
- Furniture
- Gifts & Crafts
- Hardware
- Health & Medical
- Home & Garden
- Home Appliances
- Lights & Lighting
- Luggage, Bags & Cases
- Machinery, Hardware & Tools
- Measurement & Analysis Instruments
- Mechanical Parts & Fabrication Services
- Minerals & Metallurgy
- Office & School Supplies
- Packaging & Printing
- Rubber & Plastics
- Security & Protection
- Service Equipment
- Shoes & Accessories
- Sports & Entertainment
- Telecommunications
- Textiles & Leather Products
- Timepieces, Jewelry, Eyewear
- Tools
- Toys & Hobbies
- Transportation
Filters
Search
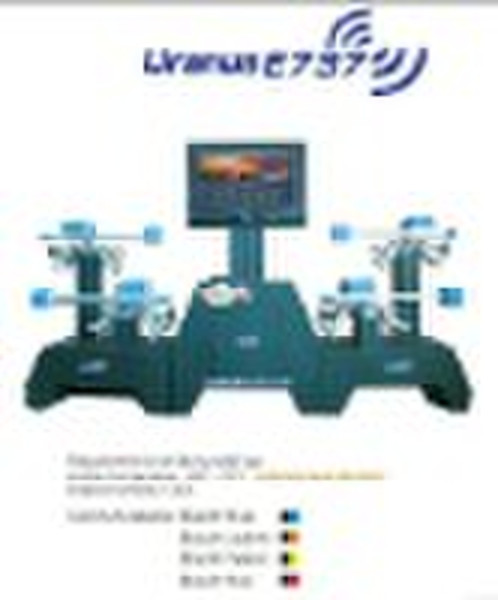
Wheel Alignment Uranus E737

Michael Wang
Contact person
Basic Information
| Place of Origin | Guangdong China (Mainland) |
|---|---|
| Brand Name | 3Excel |
| Model Number | E737 |
Wheel Alignment UranusE7371.1UranusE737 Functions &FeaturesComplete test ,The Wheel Aligner can be used to measure the most wheel alignment parameters, such as front wheel toe-in, front wheel camber, caster, Kingpin inclination, rear wheel toe-in, rear wheel camber, thrust angel , wheelbase difference, tread difference, axle offset, front wheel setback and rear wheel setback.Complete databank, Wheel Alignment data of over 20,000 vehicle models is stored in the system; User can also add new data to the bank.Adopts the charge coupled device (CCD) with high resolution, infrared 8-beam and full loop measurement, accurate and stable .Bluetooth wireless communication mode, no data transmission influence.Based on the thrust line to realize the real alignment measurement.Fully intelligentized, The system can automatically recognize the vehicle with super-low chassis to perform the alignment test for this kind of vehicle and the vehicle with enclosed housing, Aiming to the vehicle model, the system can automatically turn on the corresponding functions of height measurement and counterweight. Etc.The sensor heads are individually interchangeable, After changing one of the sensor heads, the other three needs not to calibrate, which makes the after-sales service more convenient.Sensors remote controller operation functions, which can finish operation through any key of one sensor.Self-check function for the probe rod detects deviation and automatically prompts the fixed standard value.Platform calibration function can be used to calibrate platform deviations caused by any kinds of lift or even pit to ensure measurement accuracy.Camber Living Caster and display functions.Perform the special alignment test for Mercedes-Benz, BMW, Audi and Passat vehicles, etc.Front alignment test function: user can select the alignment mode flexibly, Only two probe rods are mounted can the emergency alignment measurement for the front wheels be performed. The Demonstration Version can run all the test show, which makes user’s training more convenient and quick.The units of the alignment parameters can be represented with Degree/Minute, Percentage Degree, MM and Inch.Voice prompt functions during the measurement make this process easy to operate even for the people with little or no experience,.Customer-feedback reminders: timely reminds users to report review and follow up system performance so that the manufacturer can provide personal service to each user in time. .1.2 Technical IndexItemMeasurement PrecisionMeasurement RangeTotal toe±4′(±0.02º)±4ºIndividual toe±2′(±0.01º)±2ºCamber±2′(±0.03º)±4ºCastor±6′(±0.1º)±18ºSAI / KPI±6′(±0.1º)±18ºSetback±2′(±0.03º)±2ºThrust angle±2′(±0.03º)±2º1.3 Requirements on SurroundingsAmbient Temperature -20°C 50°CRelative Humidity ≤90%
Delivery terms and packaging
Packaging Detail: Packed with Plywood Case. Delivery Detail: Within two weeks after getting full payment.
Port: Shenzhen Port
Payment term
Telegraphic transfer
Western Union
-
Payment Methods
We accept:


