Katalog
-
Katalog
- Auto & Motorrad
- Bauwesen und Immobilien
- Bekleidung
- Büro- und Schulartikel
- Chemikalien
- Dienstleistungen für Unternehmen
- Eisenwaren
- Elektrische Geräte & Zubehöre
- Elektronische Bauteile
- Energie
- Galanteriewaren
- Geschenke und Kunsthandwerke
- Gesundheit und Medizin
- Gummi und Kunststoffe
- Haus und Garten
- Haushaltsgeräte
- Koffer, Taschen & Hüllen
- Landwirtschaft
- Lebensmittel und Getränke
- Licht und Beleuchtung
- Maschinen, Geräte und Werkzeuge
- Maschinenteile und Herstellung Dienstleistungen
- Messapparat und Analysegerät
- Mineralien und Metallurgie
- Möbel
- Schuhe und Accessoires
- Schönheit und Körperpflege
- Service Geräte und -Ausstattung
- Sicherheit und Schutz
- Spielzeuge und Hobbys
- Sport und Unterhaltung
- Telekommunikations
- Textil und Lederware
- Transport
- Uhren, Schmuck, Brillen
- Umweltschutz
- Unterhaltungselektronik
- Verpacken und Drucken
- Werkzeuge
- Überschüssiger Warenbestand, Lager
Filters
Search
Velo-verbindliche Maschine (YD-SB420E)

Manda Xu
Kontaktperson
Basisdaten
| Ort der Herkunft | Guangdong China (Mainland) |
|---|---|
| Marke | Artter |
| Modell-Nummer | YD-SB420E |
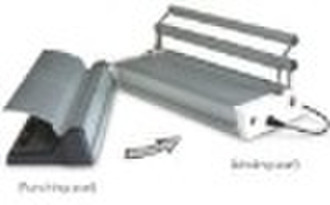
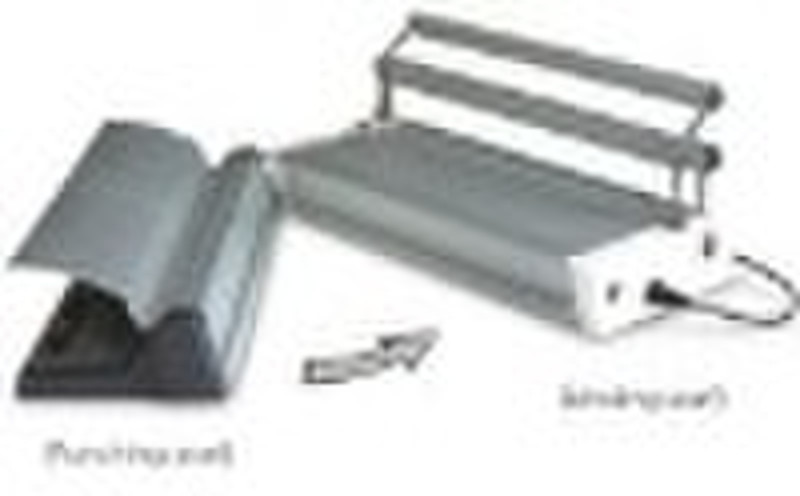
YD-SB420E is a strip document binding (velo-bind) machine made of fine aluminium alloy which is firmed, light, durable and having a perfect looking. Power supply: 110V/220V, 50/60Hz; Power consumption: 200 W; Punching capacity: 30 sheets (70g)/punch; Paper cover - 8 sheets (230g)/punch; PVC cover - 8 sheets (0.2mm)/punch; Size of binding document: A2, A3, A4 Strip type: 10 pins (A4 size) Binding strips (10 pins) are available on request. Operation Instructions: 1. Punching Move the punching guide to the position in accordance with your binding paper size. Remember to tighten the screw of the guide. (Picture No 3 & 4) Put the paper into punching slot to the very end with left side touching the punch guide. Press the two punching panels. (Picture No 5) Please remember punching no more than 30 sheets (70g) per time. (Picture No 6) 2. Binding Place the back cover (face down), the punched sheets (last page on the bottom), and front cover (face up) on top of the receiving strip. Place the receiving strip (bottom binding strip with holes), textured side down in the strip recess, located in front of the backstop. Be sure the small hole in the receiving strip is over the locating pin. The locating pin is on the left hand side of the strip recess area in front of the backstop. The locating pin fits into the small hole in the plastic strip. The strip is positioned correctly over the locating pin when it is difficult to slide the strip to the right. Failure to properly align the strip can cause machine damage. (Picture No 7 & 8) Place your hand at the middle of the pressure bar (pressure on either side will cause binding quality problem). (Picture No 9) If document thickness is more than 25 mm, please release the pressure bar to position like Picture No 10 by loosing screws at each end. Lower the binding bar and machine begins to cut and melt pins. In 10 to 20 seconds the indicator light turns off and the binding process is finished. (Picture No 11) Press the releasing button at each low end of the binding part and the pressure bar pop upward. Take out the document. (Picture No 12) 3. Waste paper and cut pin: Waste paper tray cap is at each side of punching part. Remove the cap and dump waste paper. (Picture No 13) There are two caps at right and left side of binding part. Open the cap and take out the cut pin tray. (Picture No 14 & 15)
Lieferbedingungen und Verpackung
Packaging Detail: in Carton Delivery Detail: Negotiable
Hafen: SHENZHEN
Zahlungsbedingungen
Letter of credit
Telegraphic transfer
-
Zahlungsarten
Wir akzeptieren:


