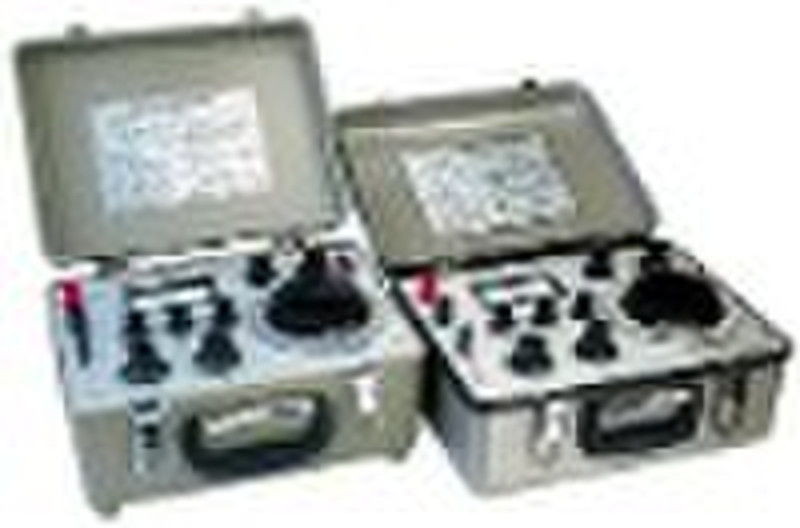
DC potentiometer box

amy wu
联系人姓名
基本信息
| 出生地 | Zhejiang China (Mainland) |
|---|---|
| 牌子的名字 | FM |
| 模式的数量 | UJ33a |
. This product can measure voltage directly and measure resistance,current,power,tempreture etc.indirectly.The output of the standard voltage signal can calibrate the voltage of the industrial instrument.DC potentiometer box Power source: commercial power(with"FM") battery(no"FM") Third, the principle of The potentiometer made in accordance with the principle of compensation law. Regulation of RP value, when the operating current I generated in the RN on the battery voltage drop equivalent to the standard EN-potential value, if the switch into the left side of K, it means the galvanometer zero, when the operating current will be equal to accurately 3mV or 5.5mV. The above steps known as the "standard." Measurement, the regulation of known resistance Rp of its 5mA operating current of 3mA, or have a voltage drop equal to the measured value of UX when UX = IR, such as the switch into the right side of K, referring to zero galvanometer. Which may be known to the size of the R value to reflect the numerical UX Principle circuit diagram in detail 2. Fourth, the use of manual 1, measurement of the unknown voltage Ux: Open the rear cover, according to polarity into electricity 1.5V1 Route 5 or 6 and 9V6F22 laminated battery 2 or 4, magnification switch from "off" to the desired spin rate, when the power supply connected to the above, 2 minutes after the regulation five minutes, "zero" knob, so that instruction pointer galvanometer zero. Measured voltage (potential) access by the polarity of the "unknown" side button "measurements - output" release switch in the "measured" position, key switch plate to the plate "standards" to regulate the "rough" "micro" knob until the seizure Galvanometer zero means. Plate key plate to the "unknown" regulation of , , measuring disk, so that means the galvanometer to zero, the measured voltage (potential) to measure the product of disc reading and magnification. Measurement process, with the battery consumption, current changes, so check often for the use of "standard", so that accurate measurements. 2, for signal output: According to the above steps in the "standard" after "measurement - output" rotary switch to the "output" position (ie, galvanometer short-circuit). Select the "magnification" and adjust the measurement plate key plate on the "unknown" location, when the "unknown" button the second off-side output voltage and measuring the value of that ratio is the product of value. After use, "magnification" release switch "off" position, from the two groups attached to the battery discharge unnecessary. If long-term use, will remove the batteries. Fifth, maintenance and attention 1, apparatus should be placed on the ambient air temperature 5 35 , relative humidity less than 80 indoor air should not contain corrosive gas. If the machines do not have long-term, will remove the batteries. 2, apparatus if proof can not be "standard", should be considered on the 1st due to batteries life has been completed. Low the Department to open the battery lid apparatus, according to level of plus or minus 5 Add 1 or 6 dry batteries. Into the new batteries, when used to its current stability, after the discharge into the 20 to 30 minutes, the benchmark may also be power to the battery life has been completed 6F229V be change. 3, in use, such as sensitivity galvanometer found a significant drop or no deflection, may be power transistors galvanometer 9V battery life to the end caused the Department to open the left side of the battery low apparatus lid, insert the battery is not 6F229V laminated section, the replacement . 4, apparatus should be once a year to ensure the accuracy of instruments. 5, shelving equipment re-use of long-term, should the switch, slide line, rotating several times to reduce the impact of exposure to oxidation, so that a reliable instrument. 6, the user to comply with the rules of the custody and use of the conditions, from the date of shipment from the factory in 10 months due to poor product quality can not damage normal working hours, the manufacturing plant, due to users free of charge repair or replacement of parts. Type Measuring rangeThe min stepAccuracySize UJ33a0 21mV 210mV 1.05V1μV0.0531×26×16FMUJ33aUJ33b0 21mV 210mV 2.1V1μV0.05WeightFMUJ33b4
-
支付方式
我们接受:


