Каталог
-
Каталог
- Автомобили и мотоциклы
- Безопасность и защита
- Бизнес
- Бытовая техника
- Бытовая электроника
- Детали машин и услуги по их изготовлению
- Дом и Сад
- Здоровье и медицина
- Игрушки и хобби
- Изделия из металла
- Измерительные и анализирующие приборы и инструменты
- Инструмент
- Красота и личная гигиена
- Мебель
- Мероприятия по охране окружающей среды
- Минералы и металлургия
- Модные аксессуары
- Обувь и аксессуары
- Одежда
- Освещение
- Подарки, сувениры
- Продовольственные товары и напитки
- Промышленное оборудование и техника
- Резина и пластмассы
- Сельское хозяйство
- Специальное оборудование
- Спорт, отдых и досуг
- Сток
- Строительство и недвижимость
- Текстиль и кожа
- Телекоммуникации
- Товары для офиса, учебы. Канцтовары
- Транспорт
- Упаковка и печать
- Химикаты
- Часы, Украшения, Очки
- Чемоданы, сумки
- Электронные компоненты, оборудование, принадлежности
- Электротехническое оборудование и принадлежности
- Энергия
Filters
Search

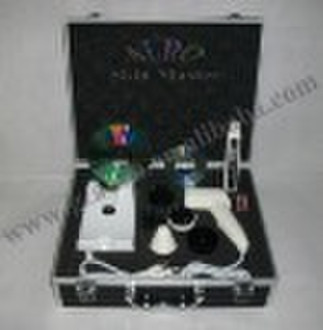
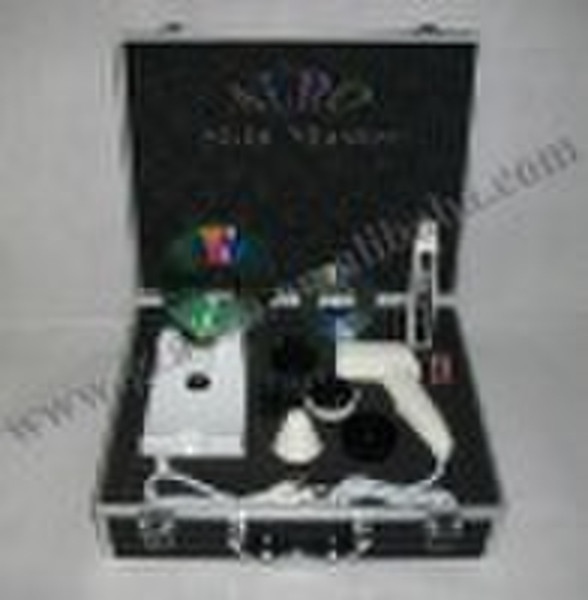
Кожа Мастер Au-998

Min Wen
Контактное лицо
Основные данные
| Тип | Skin Analyzer |
|---|---|
| Cертификация | CE |
| Место происхождения | Guangdong China (Mainland) |
| Бренд | Auro |
| Номер Модели | Au-998 |
Usage Instruction: 1. Skin Moisture Detection: Get the data from accurate skin moisture detection device. Input the data into T & U boxes. Click “Analyze”. The result will be shown on the analysis chart. There are relevant suggested products with functions introduction at the bottom of the interface. There is a coordinate graph of age and moisture on the upper right corner. The point is an actual measured value. After Skin Moisture Detection, please click “next step” for Skin Oil Detection. 2. Skin Oil Detection: i. Direct Photograph Way Click “Photograph”. Take picture for T & U area as the tips on upper right corner. Click “Frozen”àDouble click to select the middle frozen image (in green box) on the lower right corner. àMain Image Stressing DisplayàClick “Analyze”. The result will be automatically shown. On the upper right corner Skin Condition Indication Lights reflect the skin health status by red, yellow and green light. Meanwhile there are relevant suggested products with functions introduction matched with skin oily extent. ii. Comparison Way: Click “Comparison” It can compare skin of different time and part by underline, tick and mark, etc iii.3D Display Way: Click “3D”.The 3D Image Reduction Technology shows a stereo image of present skin from any aspect. Press the left key of the mouse, select and drag skin picture to view three dimensional animation.Click”F2” to view the rendering skin structure diagram.Click”F3” to view the full screen of skin structure diagram. 3. Pores Detection: Click “Photograph”. Take picture for T & U area as the tips on upper right corner. Click “Frozen”àDouble click to select the middle frozen image (in green box) on the lower right corner. àMain Image Stressing Display. i. Magnifying Glass Roaming: Click “Magnifying Glass”. Drag the Magnifying Glass to view the detail of local pores, wrinkles and blemishes. Better effect if matched with the following linear measurement and circular measurement. ii. Linear Measurement: Keep magnifying status, click"Linear Measurement Key".Press left key of the mouse, select the distance, and then loose the key. It will shows an automatically line, and the distance of this line below. iii. Circular Measurement: Keep magnifying status, click"Circular Measurement Key".Firstly click left and right of the area under test. Then click the third times. Thus it will show a circle covering this area and the square meter beside. → Click “Analyzer”. The result will be shown on the analysis chart. Click “Next Step” to continue detection. 4. Cutin Detection: Click “Photograph”. Take picture for T & U area as the tips on upper right corner. Click “Frozen”àDouble click to select the middle frozen image (in green box) on the lower right corner. àMain Image Stressing Display. àClick “Analyze”. The result will be automatically shown. On the upper right corner Skin Condition Indication Lights reflect the skin health status by red, yellow and green light too. Meanwhile there are relevant suggested products with functions introduction matched with skin cutin extent. Click “Next Step” to continue detection. 5. Smoothness Detection: Click “Photograph”. Take picture for T & U area as the tips on upper right corner. Click “Frozen”àDouble click to select the middle frozen image (in green box) on the lower right corner. àMain Image Stressing Display. àClick “Analyze”. The result will be automatically shown. On the upper right corner Skin Condition Indication Lights reflect the skin health status by red, yellow and green light too. Meanwhile there are relevant suggested products with functions introduction matched with skin smoothness extent. Worse Better Click “Next Step” to continue detection. 6. Pigmentation Detection: Click “Photograph”. Take picture for T & U area as the tips on upper right corner. Click “Frozen”àDouble click to select the middle frozen image (in green box) on the lower right corner. àMain Image Stressing Display. àClick “Analyze”. The result will be automatically shown. On the upper right corner Skin Condition Indication Lights reflect the skin health status by red, yellow and green light too. Meanwhile there are relevant suggested products with functions introduction matched with skin pigmentation extent. 7. Integrated Report: After the above 6 detections, Click “Next Step” for integrated report and print out.Click “Product” ...
Условия поставки и упаковка
Packaging Detail: export carton with foam pad Delivery Detail: 5 days against payment according to order quantity
Порт: Guangzhou
Условия оплаты
Электронный перевод
MoneyGram
Вестерн Юнион
-
Способы оплаты
Для оплаты товаров и услуг на нашем портале, Вы всегда получаете счет, в котором Вам необходимо самостоятельно указать свои данные.
Мы принимаем к оплате:


